


Materials:
Extra wide double fold bias tape (1/2” wide)
12 or 16 gauge clear vinyl
Velcro
Coordinating thread
12 or 16 gauge clear vinyl
Velcro
Coordinating thread
Instructions:
Measure the height and width of your puzzle, making sure to include the thickness of the puzzle. Add about 1-1.5 inches to the width so that you can easily slide your puzzle in and out. You are essentially making a vinyl envelope, so you will need to double the height of the puzzle and add a few more inches for the flap. For example, a standard sized wooden Melissa and Doug puzzle measures approximately 12.5” W x 9” H. I cut my vinyl to 13.5” x 22”.
Make a mark on each long edge, approximately 5” in from one of the short edges. This will be the top of your envelope, and you will end up with a 5” flap.
Set your stitch length to 3.5. On the opposite short end, sew a strip of bias tape. Back stitch at both ends and trim any excess bias tape. (Tip: I highly recommend using Clover Wonder Clips (http://www.amazon.com/Clover-Wonder-Clips-Per-Pack/dp/B004ZKPX8A) when sewing with vinyl, as they do not leave holes and are easy to reposition).


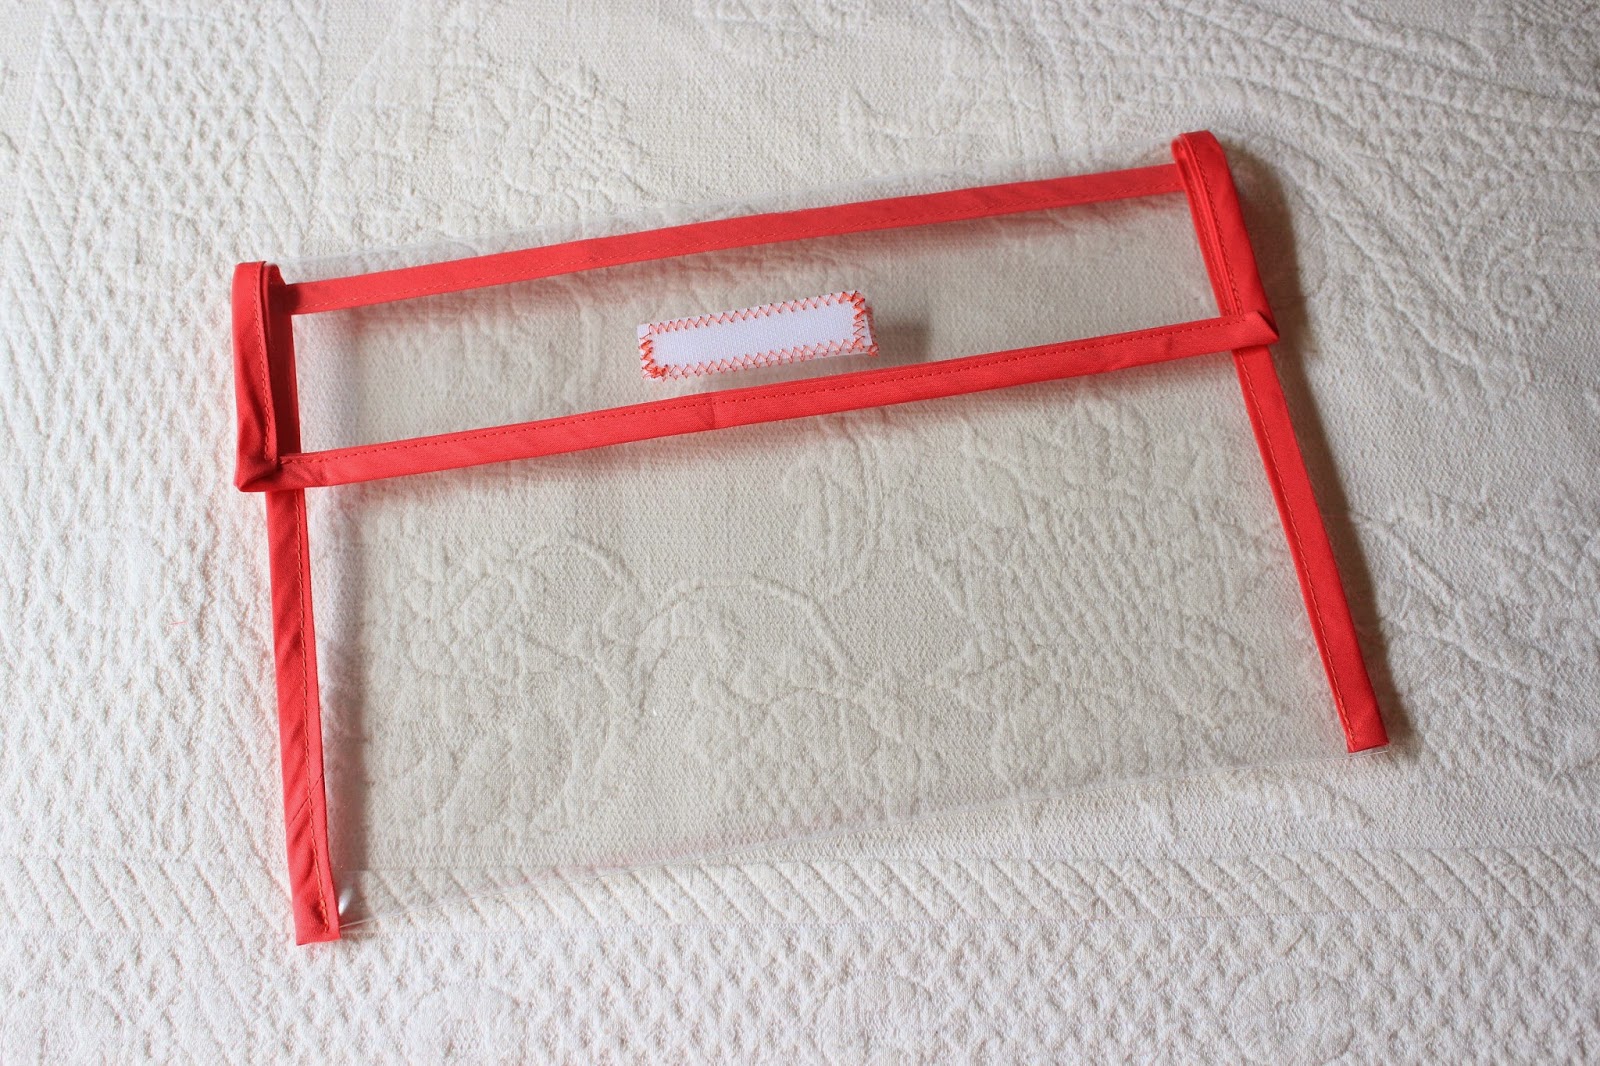
Next, cut a 3” long strip of velcro. Set your machine to a zig-zag stitch with stitch length of 2.5. Attach the hook side (scratchy side) approximately 2.5” in from the edge you have just encased in bias tape, centering it. I find it helpful to use a small piece of painters tape to mark where I want to place the velcro. Sew around all four edges of the velcro with a zig-zag stitch.


Fold the edge with bias tape/velcro up to the 5” flap marks you made earlier and clip in place. Make sure the velcro is facing out. Fold one end of the bias tape into a triangle then fold down.

Beginning at one of the bottom corners, sandwich both layers of vinyl inside your bias tape. Clip in place. Set your machine to a straight stitch with a stitch length of 3.5. Sew along the edge until you reach the first flap corner. Sew right up to the edge then backstitch.


Remove the envelope from your machine and trim threads. Fold the corner and clip in place.

Beginning a few stitches before the corner, sew around the corner and continue along the edge. Repeat steps for next flap corner. Continue sewing the bias tape around the edge of the envelope until you reach the end.


Fit your puzzle inside the envelope and close the flap snuggly. Mark where the loop/soft side of the velcro should go. (It’s best to place the soft side of the velcro on the flap so it doesn’t scratch your hand when you slide the puzzle in and out.) This should be approximately 3/4”-1” in from the edge. Make sure it is centered/lined up with the other side of the velcro. Attach to the inside of the flap with a zig-zag stitch, stitch length 2.5.


These bags are also useful for storing slightly thicker items.

My two year old daughter can easily open the bags and enjoys sliding her puzzles in and out.

No more missing pieces! Now all your puzzles can be stored neatly together on the shelf.


