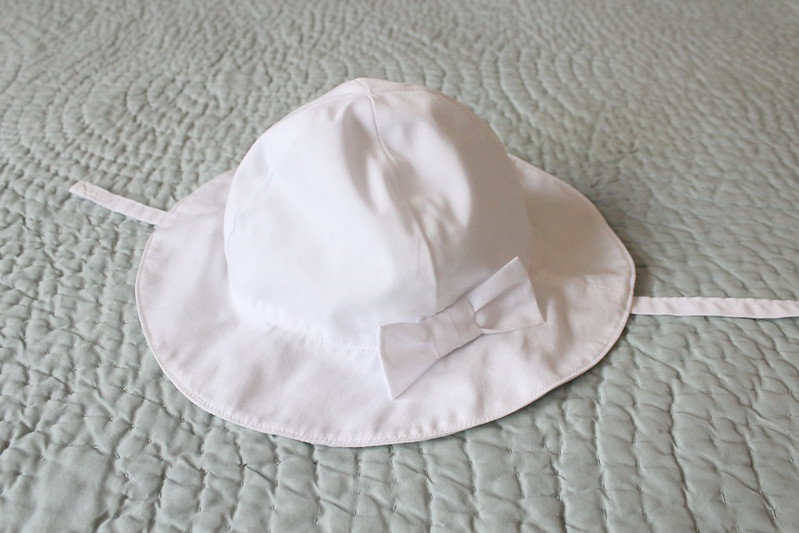
Baby sun hat pattern
1/2 yard of fabric (You may wish to use two different fabrics, one for the outside of the hat and one for the lining)
1" piece of 1/2" wide Velcro (I used 1" Velcro and cut it in half widthwise)
Thread
Sewing machine
Scissors or rotary cutter
Tape measure or ruler
Pinking shears
Sewing pins
Iron
Fabric marking pen
Download the free pdf pattern here
(Or right-click on the images below and save. Please note, this pattern is for personal use only.)


(Or right-click on the images below and save. Please note, this pattern is for personal use only.)
The pattern is sized 9 - 12 months (18" head circumference). Both pattern pieces include a 1/4" seam allowance. All seams are 1/4" unless otherwise noted. The first page of the pattern, the brim, will need to be printed on two sheets of paper and taped together. The easiest way to do this is to save the pdf and open up in Acrobat. In the print menu, under "Page Sizing and Handling", select "Poster". Make sure to print the pattern at full scale.
Instructions
Begin by tracing the pattern pieces for the crown lining only onto your fabric. You will need to cut 4 crown pieces out of the lining fabric.
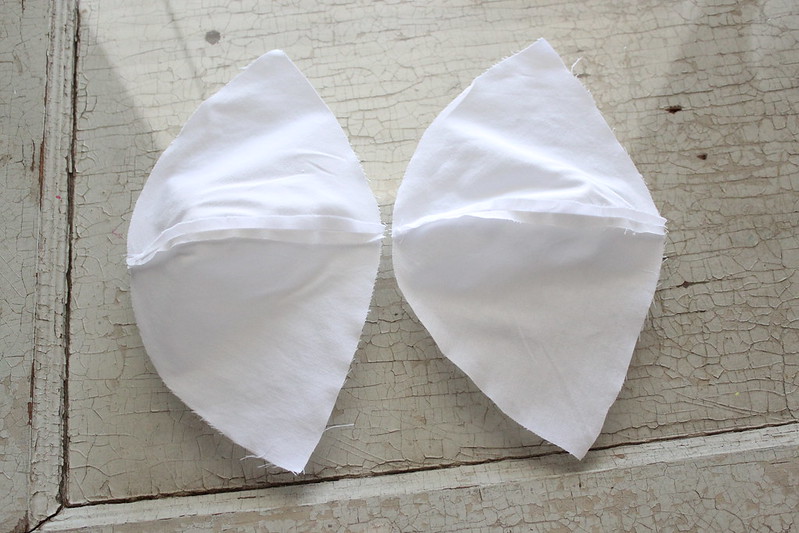
Pin two of the crown pieces right sides together.

Sew and press the seam open.

Repeat for the other two crown pieces.
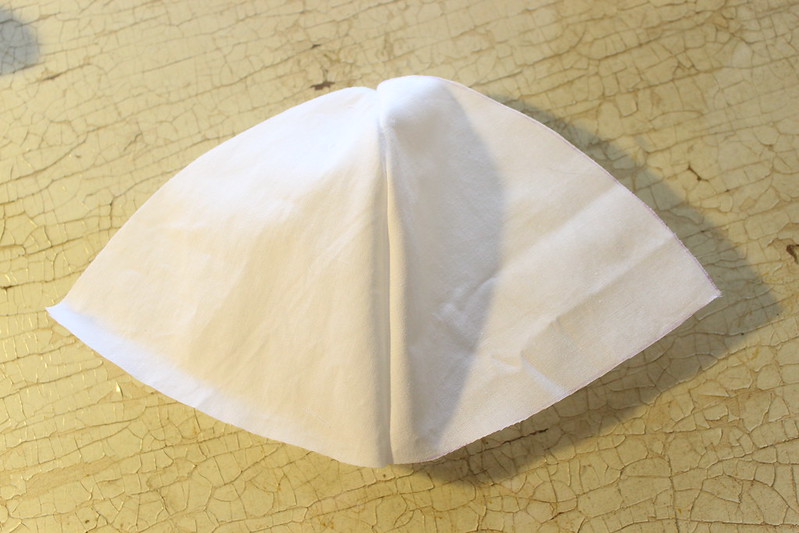
Place the two halves of the crown right sides together, pin, and sew along the top of the crown.
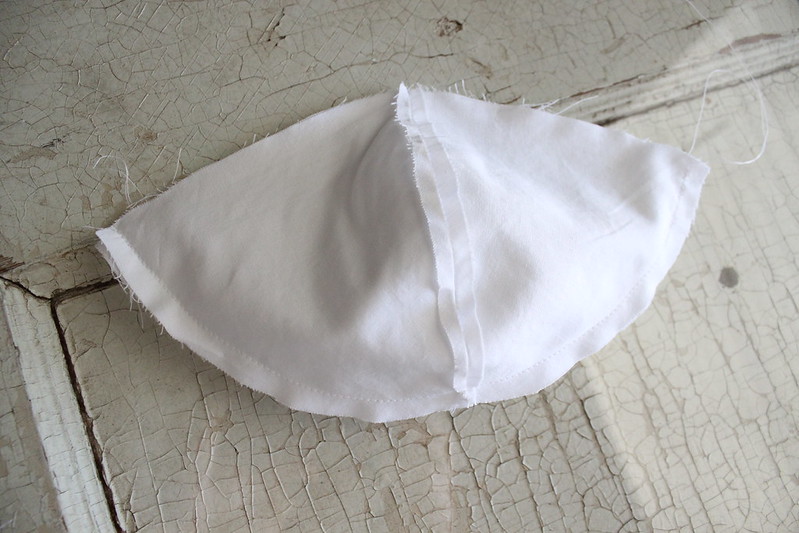
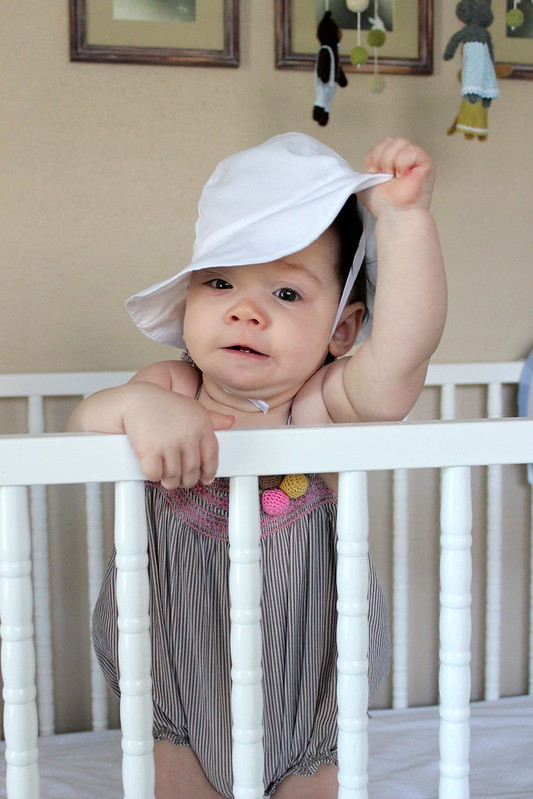
Trim and press seams and turn right side out. This would be a good time to fit the crown on your baby's head and make sure it fits well.
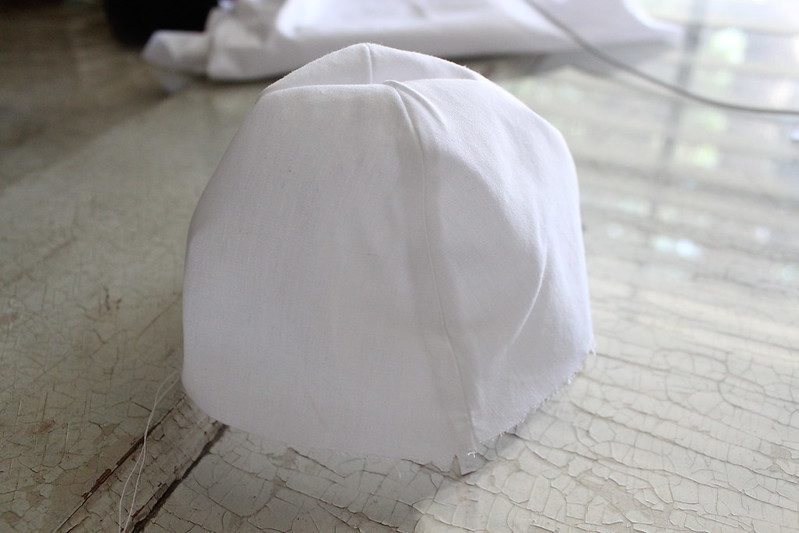
If it fits, you can now cut the rest of your pattern pieces. Cut 2 brim pieces from both your outer and lining fabrics, and 4 crown pieces from your outer fabric. You will also need to cut one 7" x 2" and one 8" x 2" strip of fabric for the chin straps.
Continue with the lining. Place the two brim pieces right sides together and pin each of the short ends.
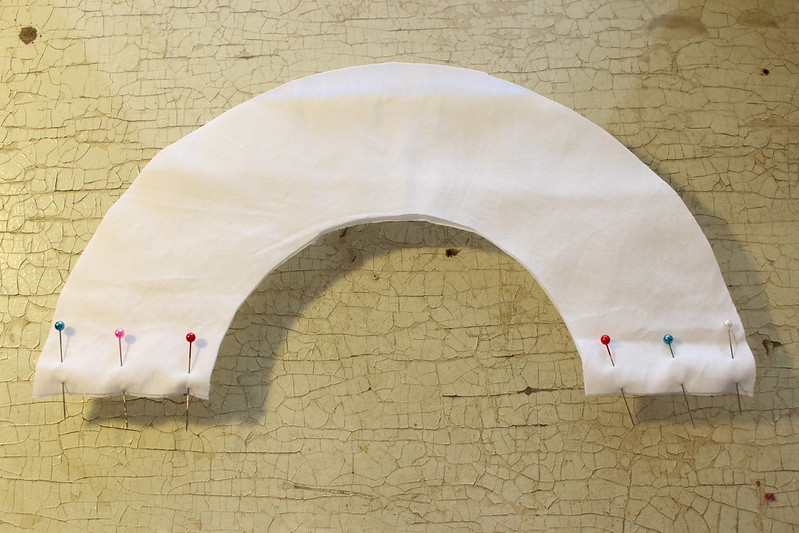
Sew each end together.
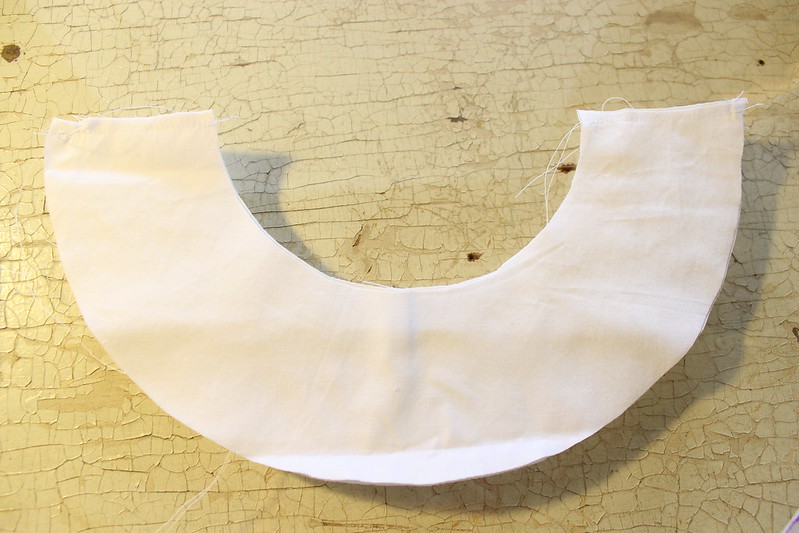
Open up the brim and press the seams open.

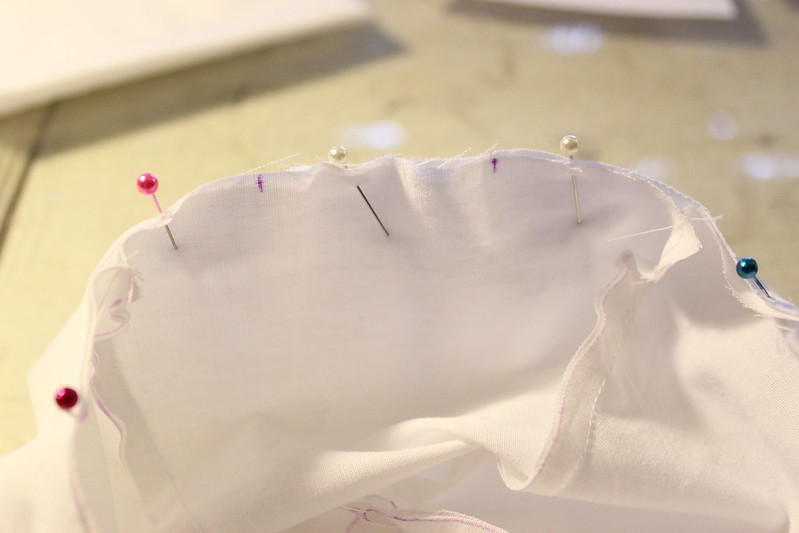
Pin the crown to the inside opening of the brim, right sides together. Align the two pieces so that the brim seams hit in the middle of a crown piece. ie you want the brim seams to be at the sides of the hat and a crown piece to be centered at the front.

 |
| This is what it should look like on the outside when pinned together |
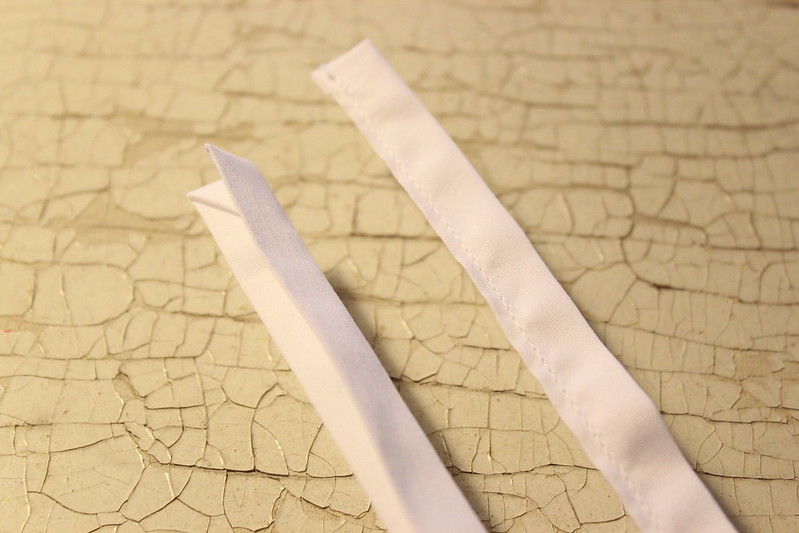
Fold the 8" x 2" strip of fabric for one of the chin straps in half lengthwise and press. Open up and fold each half toward the middle. Press. Fold the top corners down to form a triangle, then fold the triangle down.
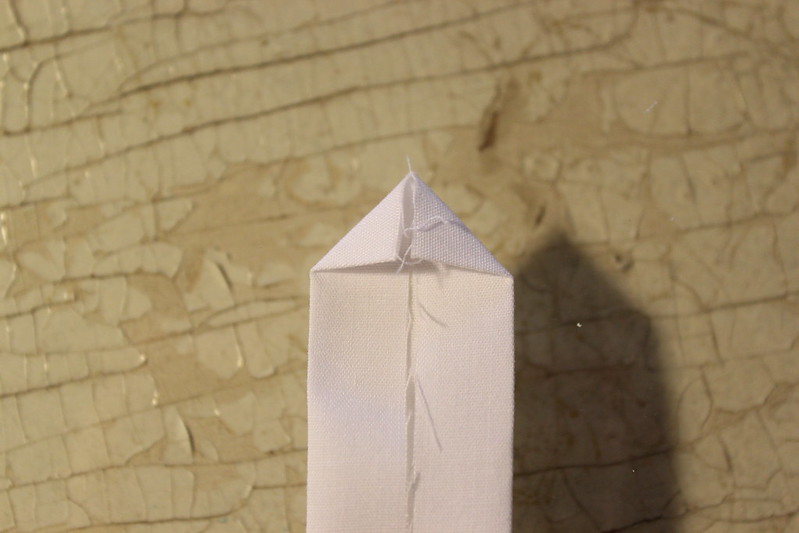
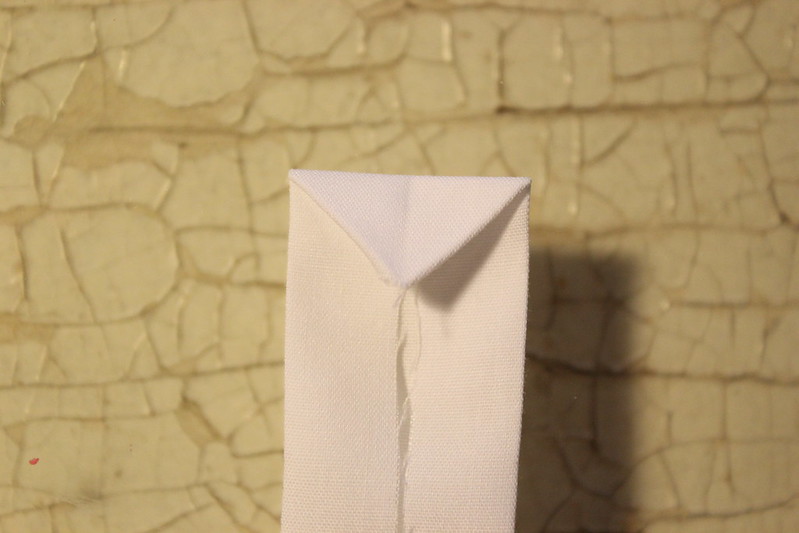
Fold in half lengthwise. Press and sew 1/16" to 1/8" in from the edge. Repeat for the 7" chin strap.
Mark a 2" opening in the back of the hat. It's very important to leave an opening so you can turn the hat right-side out after sewing the lining and the outside together.
Sandwich the chin straps in between the brim and crown, right at the seams on either side of the brim. Pin in place.

Sew the brim to the crown. Don't forget to leave an opening and make sure the straps are straight and not bunched up when you sew across them. Trim any excess from the raw ends of the straps.
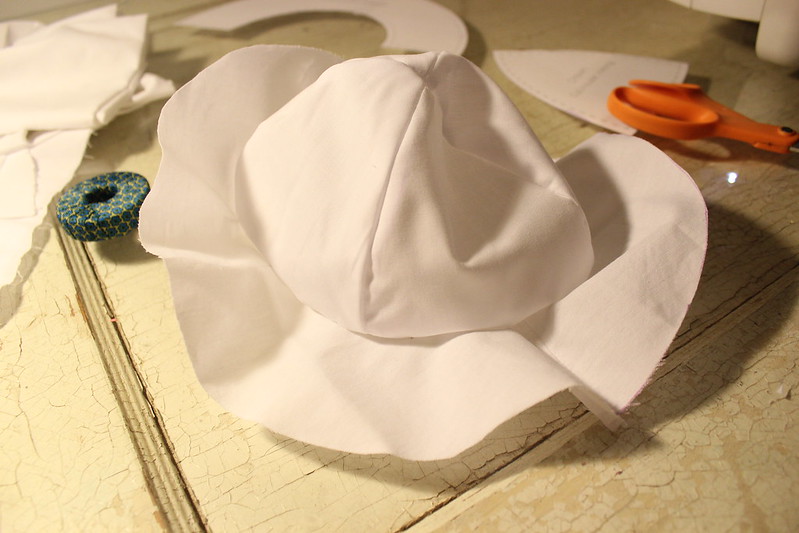
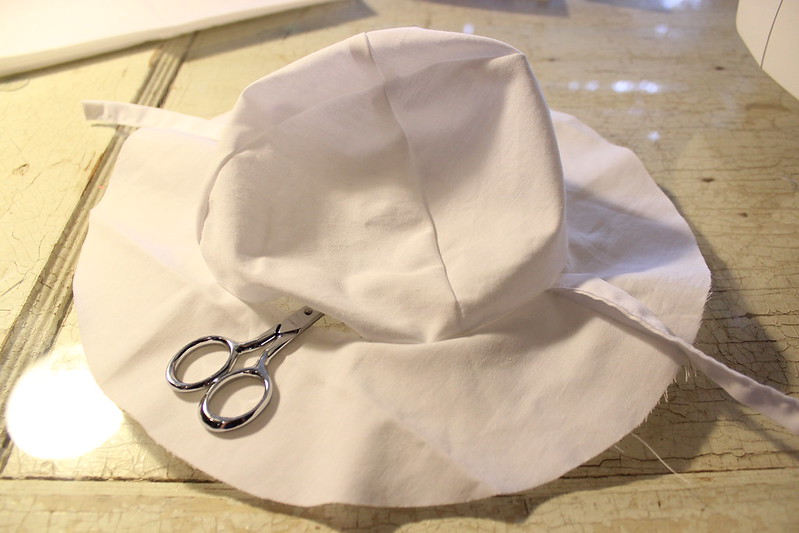 |
| Lining, turned right-side out. My scissors are there to show the 2" opening at the back, between the brim and the crown. |
Repeat the above steps for the outside of the hat, omitting the straps and opening in the seam.
Place the outside of the hat and the lining right sides together and push the crowns into one another so the brim sits flat on the table. Make sure the straps are tucked inside, away from the outer edge of the brim. Pin.

Sew around the outer edge of the brim.

Trim the edges of the brim with pinking shears. This will reduce the bulk in the seam and give a smoother curve when the hat is turned right-side out.

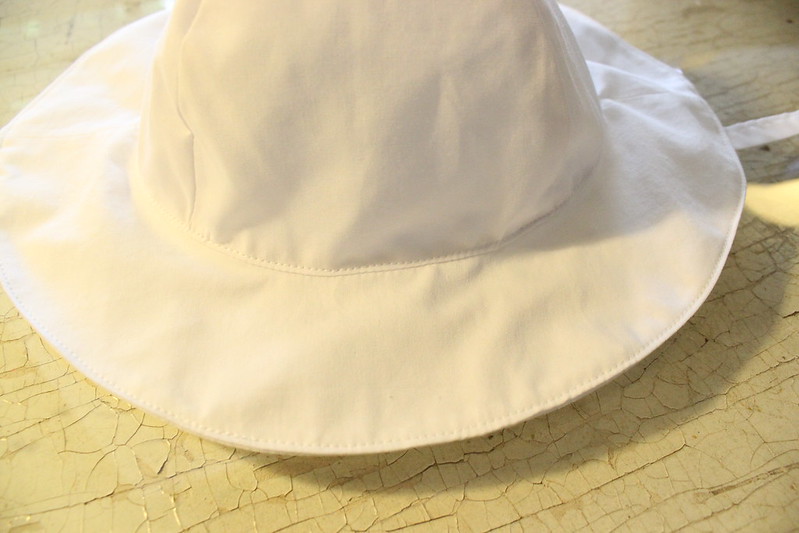
Turn the hat right side out. Sew the opening in the lining closed with a slip stitch. Topstitch around the edges of the brim and the crown, 1/16" to 1/8" in from the edge.
Take the soft side of the velcro and sew it to the inside of the longer chin strap. You want the soft side to be facing baby's skin so it doesn't scratch. Sew around all four edges of the velcro. Sew the other side of the velcro (the scratchy side) onto the outside end of the short chin strap.

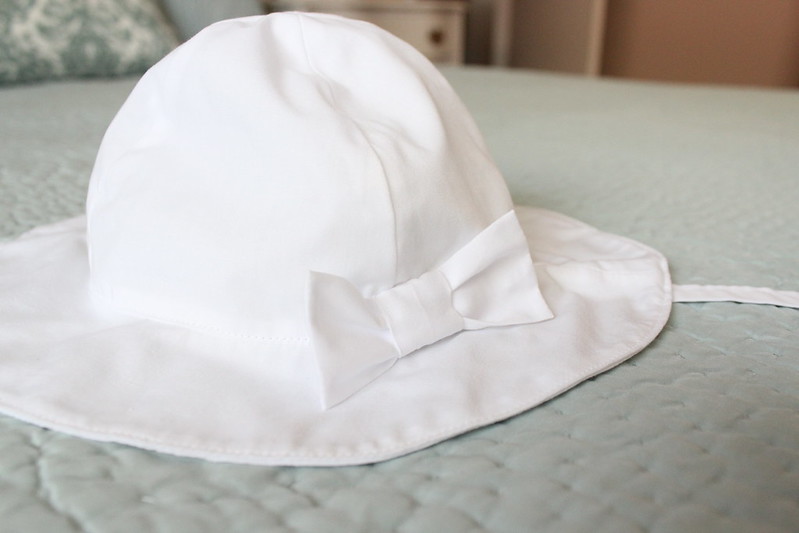
To make the bow, cut a 4" square of fabric. Fold in half lengthwise and press. Stitch along the edge, leaving an opening in the center for turning. Clip the corners and trim the edges. Turn right-side out and press. Sew a basting stitch down the center of the bow and gather. Cut a 2" x 1.5" piece of fabric for the center of the bow. Fold in half lengthwise and press. Open and fold each half toward the middle. Press. Wrap around the center of the bow and hand stitch together at the back.

Hand stitch the bow to the base of the crown.
Since this hat is fully lined, it could easily be made reversible. All you would need to do is omit the chin straps and bow...

although it may not stay on baby's head long without the straps :)
You could also sew button holes on either side of the brim to pull the straps through. I'll probably try this for the next hat I make. If I do, I'll share it here on the blog.
UPDATE: Read the reversible sun hat post here.
Please let me know if you have any problems with the pattern or tutorial, and I would love to see pictures of any hats you make!
UPDATE: Read the reversible sun hat post here.
Please let me know if you have any problems with the pattern or tutorial, and I would love to see pictures of any hats you make!
Thank you so much for the pattern & tutorial. I made one for my daughter and it came out perfect!
ReplyDeleteThe Only thing i did different was that i cut the brim on the fold.
You can still add the chin straps and make it reversible. Just make a very small button hole next to where you are going to sew the straps on. Then to reverse you just pull the straps through the holes. Easy peasy. Oh, And thank you very much for the tutorial. Now I am going to make matching hats for the dresses I have been making my baby girl.
ReplyDeleteThanks for the tip Marlene! I show how to do just that in my reversible baby sun hat post: http://ournestingground.blogspot.com/2013/06/reversible-baby-sun-hat.html
DeleteHi Sarah,
ReplyDeleteI would really like to make this hat, but unfortunately cannot print the pattern from google.docs. Is there any other way I can print your pattern.
Thanks,
Fi
Hi Fi,
DeleteI'm sorry you're having trouble downloading the pattern. You can email me at minniemillery@gmail.com and I will send you a copy.
Any tips for me as I dont have acrobat so i cant print to scale
ReplyDeleteHi! There's a square guide at the bottom right corner of the pattern that helps you know if the pattern has been printed to the proper scale. It should measure 1" x 1" when printed.
DeleteAny tips for scaling down to a 5-6 mth olds hat ?
ReplyDeleteAny tips for scaling it to a smaller size ?
ReplyDeleteYou will have to do a little math. The most important measurement is you baby's head circumference. Measure across their forehead and around the back of their head to get the circumference. Then, shorten the brim pattern piece the same amount on each short end so that the inner curve measures half of your baby's head circumference plus 1 inch for seam allowance. For example, circumference = 18", inner curve = (18/2)+1 = 10". Then you would adjust the width of base of the crown pieces accordingly. Hope that helps. One day I plan to make a pattern that includes more sizes.
DeleteHi Sarah! New to sewing and just stumbled upon your pattern for this sun hat. LOVE! Only trouble is that my little one has a big noggin' :) This pattern is too small for him. Did you ever make additional patterns and post anywhere? I'd probably want the circumference around 19.5 inches. Thanks!
DeleteSorry, I have not made any additional patterns! If you would like to make a larger hat, you will have to do a little math. The most important measurement is you baby's head circumference. Measure across their forehead and around the back of their head to get the circumference. Then, shorten the brim pattern piece the same amount on each short end so that the inner curve measures half of your baby's head circumference plus 1 inch for seam allowance. For example, circumference = 18", inner curve = (18/2)+1 = 10". Then you would adjust the width of base of the crown pieces accordingly. Hope that helps. Good luck!
DeleteWhat a fantastically detailed tutorial. You could use to many different fabrics to make it stand out instead of white.
ReplyDeleteI had the same problem to print it on acrobat. But I tried opening the image on a separate tab and double clicked to scale it to size and printed it on two pages, making sure my printer's "fit to page" option was turned off. It printed it right to scale.
ReplyDeleteI'll be posting the hat I made on my blog http://cooksewcreative.blogspot.com/ later today.
Thank you for this tutorial.
You're welcome! So glad you found it helpful! I will make sure to check out your blog.
DeleteThank you for posting this pattern! I know it's a few years old now, but I just wanted to let you know that I'm in the process of making it for my daughter (and hopefully one for my niece if it my crappy machine can handle it). I'm not a total newby, but I've never sewn clothing before -- your instructions are wonderfully clear and easy to follow, even for me. Can't wait to get started :)
ReplyDeleteI'm glad you found my tutorial helpful. Good luck sewing!
DeleteHI,
ReplyDeleteLove the pattern but seem to be having some trouble. When attaching the brim to the crown, as I am pining I seem to have more crown material than brim. Am I to gather the material to fit the brim or has something gone amiss?
I'm sorry you're having trouble. Is the square in the bottom right corner of the pattern printed at 1" x 1"? Also, are you using a 1/4" seam allowance? If the pattern is printed at the proper scale, perhaps try adjusting your seam allowance?
DeleteHI Sarah,
ReplyDeleteThanks forgetting back to me. Yes there is a square at the bottom of the pattern, what does that mean? I am using 1/4 in. seam.
When printed, the square should measure 1" on each side. That is how you know you have printed the pattern to the correct scale. Hope that helps!
DeleteSuch a perfect, and very well explained tutorial. Thank you!
ReplyDeleteI seem to be unable to download the pattern.. and I can't save the image as pdf either. Is there any way you could help? I would love to make this super cute hat for my baby.
ReplyDeleteThe link should be working now! If not, here's the URL: https://drive.google.com/file/d/1mTinodCG0G-Cn1GiABdaKfuCdVCttq5r/view?usp=sharing
Delete