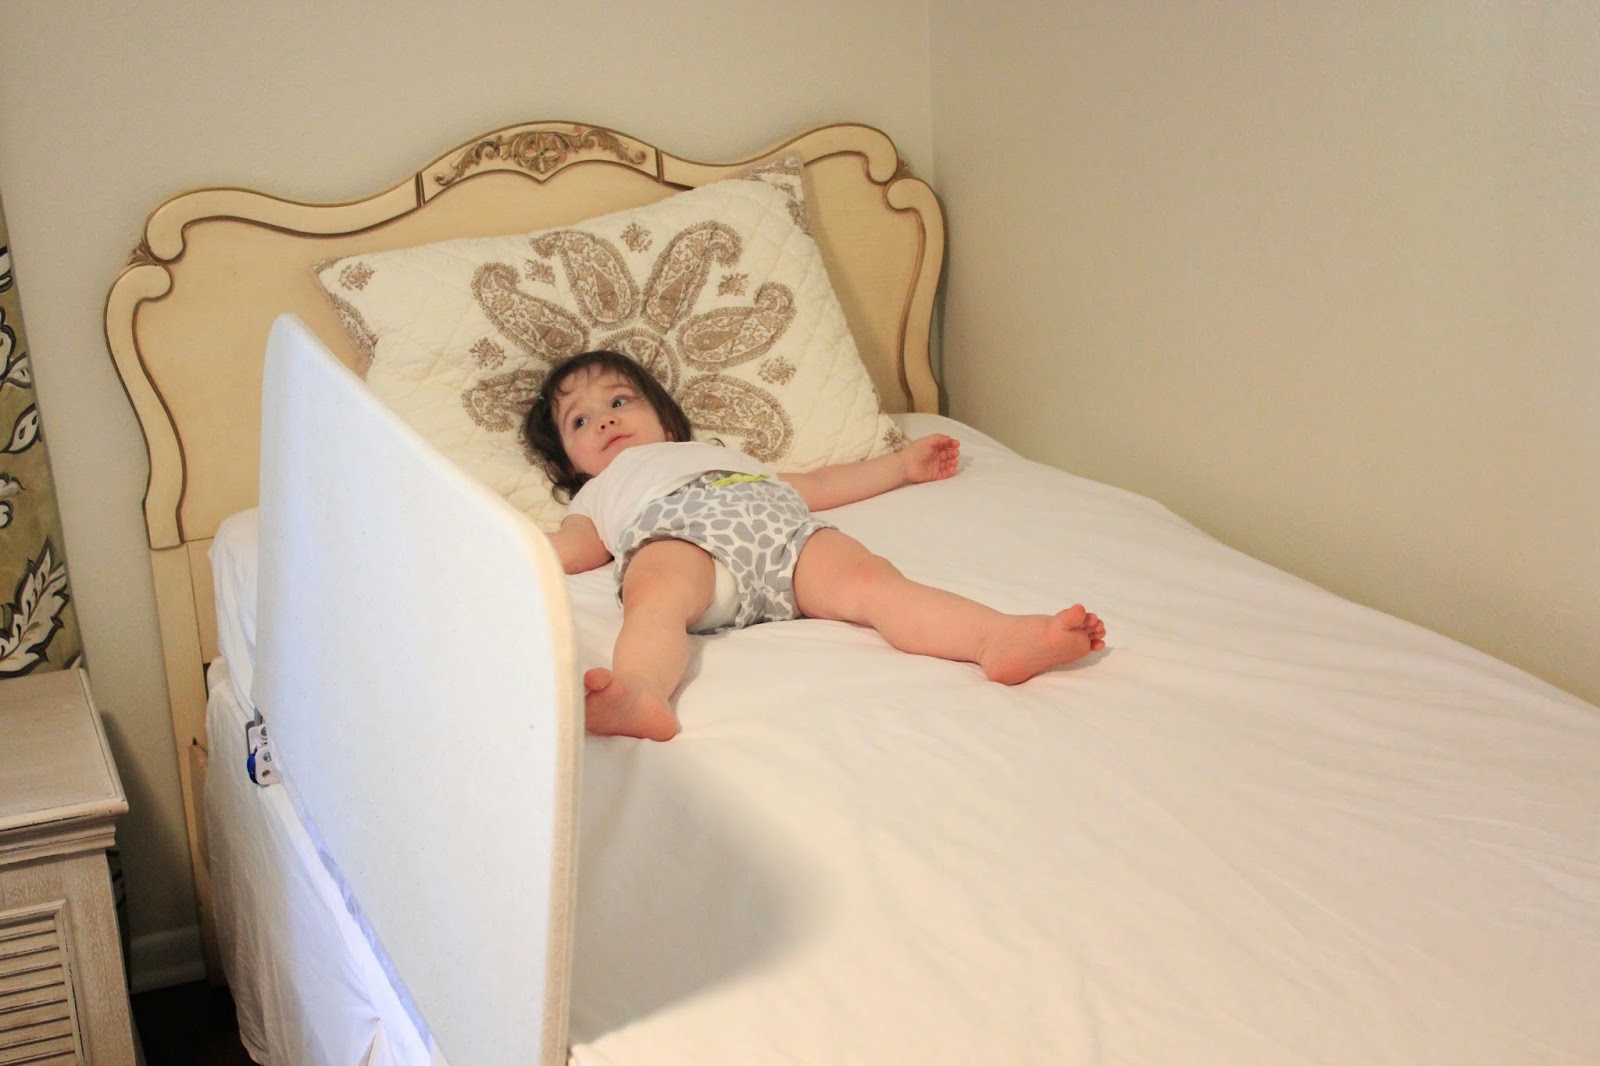
Vera has learned to climb out of her crib so she will be moving into a regular bed soon. We are skipping the toddler bed and going straight to a twin-sized bed with a
bedrail
. My mother-in-law found a bedrail for us at a rummage sale. It was in great shape but had a bright blue cover, not exactly the look I was going for. Luckily the cover was removable, and I made a simple slipcover for the rail out of
unbleached cotton osnaburg
(the same fabric I used for
these projects).
Materials:
1 1/2 yards of fabric
21" (approx 3/4 yard) Velcro
Coordinating thread
Sewing machine
Fabric marking pen
Pins
Rotary cutter or scissors
Serger or pinking shears
Tape measure or ruler
Instructions:
All seams are 1/2" unless otherwise noted.
First, trace your existing cover, adding 1/2" to the sides and top and 1" to the bottom for seam allowance. Cut two, one for each side of the cover.
Press the bottom edges of both pieces 1/2" then another 1/2".
Increase your stitch length to 3.5 and edge stitch the bottom hem for one side of the cover only.
Measure the zipper on the bottom of the original cover. Mine measured 39" so I cut a strip of fabric 40" x 7" long. This will become a flap with velcro at the bottom of the cover. Fold the strip of fabric in half lengthwise, right sides together, and sew both short ends. Trim the seams, clip the corners, and turn right side out.
Take the other side of the cover, the one with the unsewn hem, and lay wrong side up. Tuck the raw edge of the flap into the bottom hem of the cover, making sure it is centered. Pin in place.
With your stitch length still set at 3.5, edge stitch the hem, sewing on top of the flap as you go.
With the cover still facing wrong side up, press the flap down toward the bottom of the cover.
Turn over so right side is facing up and pin flap in place. With your stitch length still set at 3.5, edge stitch.
This is how the cover will look from the right side (outside) once the flap is finished.
Pin the two main cover pieces together, right sides facing. (Make sure you set your machine back to its standard stitch length, usually 2.5. If you're unsure of the fit, you can first sew the two pieces together with a basting stitch, then test the fit on your bedrail frame before sewing together with a smaller stitch length). Sew the two pieces together along the sides and top, leaving the bottom side with the flap open. You can use either a serger or pinking shears to finish the seams.
Turn right side out.
Cut seven 3" lengths of velcro (both the hook and loop sides). The soft side will be attached to the main cover and the rough side will be attached to the flap. Mark the main cover 2" up from the bottom edge, spacing the marks 3" apart. Repeat for the flap, marking 1/2" from the outer flap edge.
Sew on the velcro.
Pull the cover over your bedrail frame and secure with velcro.


